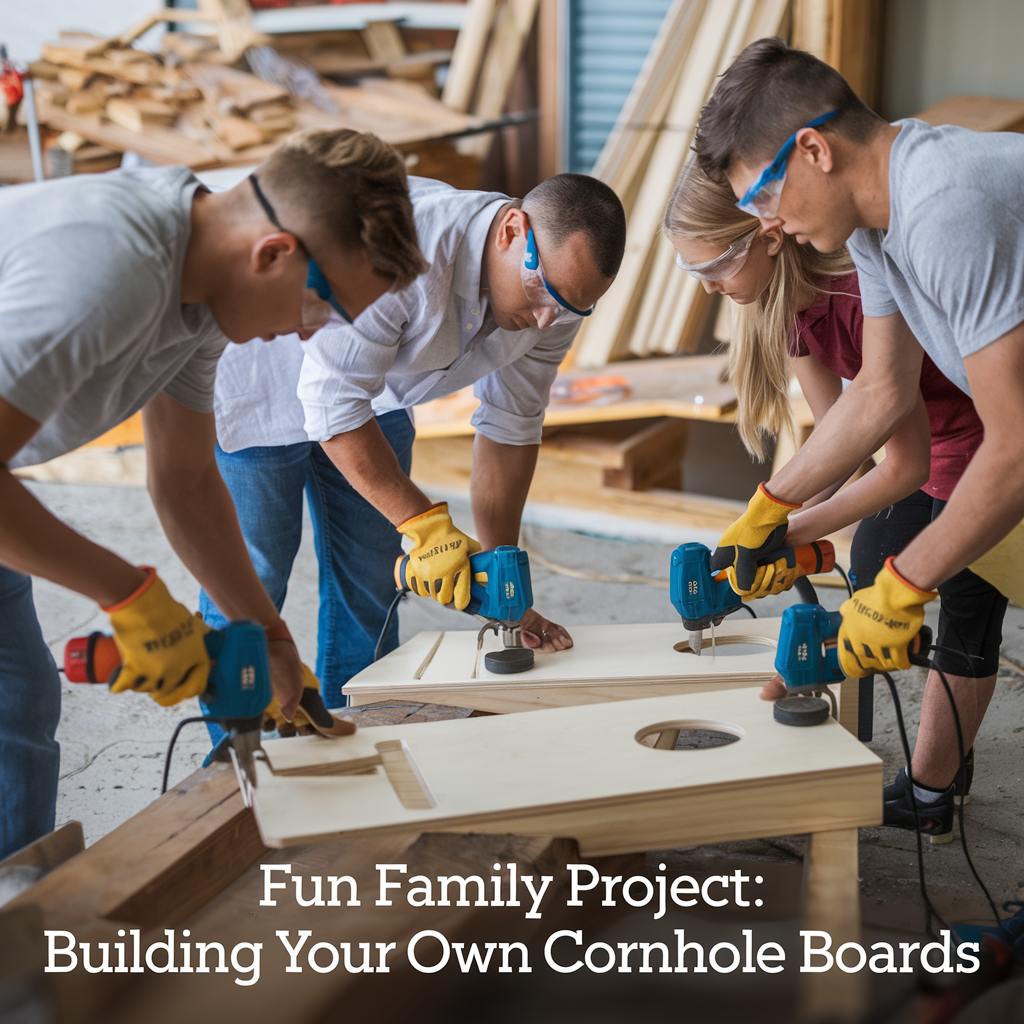
Looking for a fantastic family activity that combines creativity and outdoor fun? Look no further than building your very own cornhole boards! This step-by-step guide will walk you through the process of creating custom cornhole boards that the whole family can enjoy.
What You’ll Need
- Two plywood sheets measuring 2 feet by 4 feet (3/4-inch thickness)
- Four 8-foot 2×4 boards
- Circular saw or miter saw
- Jigsaw
- Measuring tape
- Drill
- Screws
- Wood glue
- Sandpaper
- Paint or stain
- Painter’s tape
- Outdoor polyurethane sealant
Step 1: Prep and Measure
- Begin by gathering the materials and ensuring a safe and suitable workspace for your project. Involve the entire family and assign age-appropriate tasks to each member.
- Measure and mark the plywood sheets, then use a circular saw or miter saw to cut them to standard cornhole board dimensions of 2 feet by 4 feet.
- Sand the plywood surfaces to create a smooth finish, ensuring safety and comfort while playing.
Step 2: Build the Frame
- Cut the four 2×4 boards into eight 48-inch pieces. Younger family members can help measure and mark the cuts while adults handle the saw.
- Attach two of the 48-inch boards to the sides of one plywood sheet using screws and wood glue. These boards will form the top and bottom frame sections.
- Attach the remaining two 48-inch boards to the sides of the second plywood sheet, ensuring they align with the top and bottom frame pieces.
- Cut four 21-inch pieces from the remaining 2×4 boards. These will serve as side supports between the two frame sections on each board.
- Attach the side supports to create a sturdy frame, ensuring they are evenly spaced and securely fastened.
Step 3: Add the Cornhole Holes
- Measure and mark the locations for the cornhole holes. For accuracy, involve the family in measuring 9 inches down from the top of each board and 12 inches in from each side.
- Use a jigsaw to carefully cut along the marked lines and create the cornhole holes. Younger family members can assist by holding the boards steady while adults handle the jigsaw.
- Smooth the edges of the holes with sandpaper to prevent any roughness or splinters.
Step 4: Customize and Finish
- Get creative with the family and add a personal touch to your cornhole boards. Discuss paint or stain options and let everyone contribute to the design. Consider using team colors, unique patterns, or even handprints to make it truly special.
- Apply paint or stain to the boards, allowing ample time for drying between coats. Younger family members can help with painting while adults ensure even coverage.
- If desired, use painter’s tape to create fun patterns or lines on the boards. Apply a contrasting color of paint, then carefully remove the tape to reveal the design.
- Protect your masterpiece by applying an outdoor polyurethane sealant. Follow the manufacturer’s instructions for application and drying time.
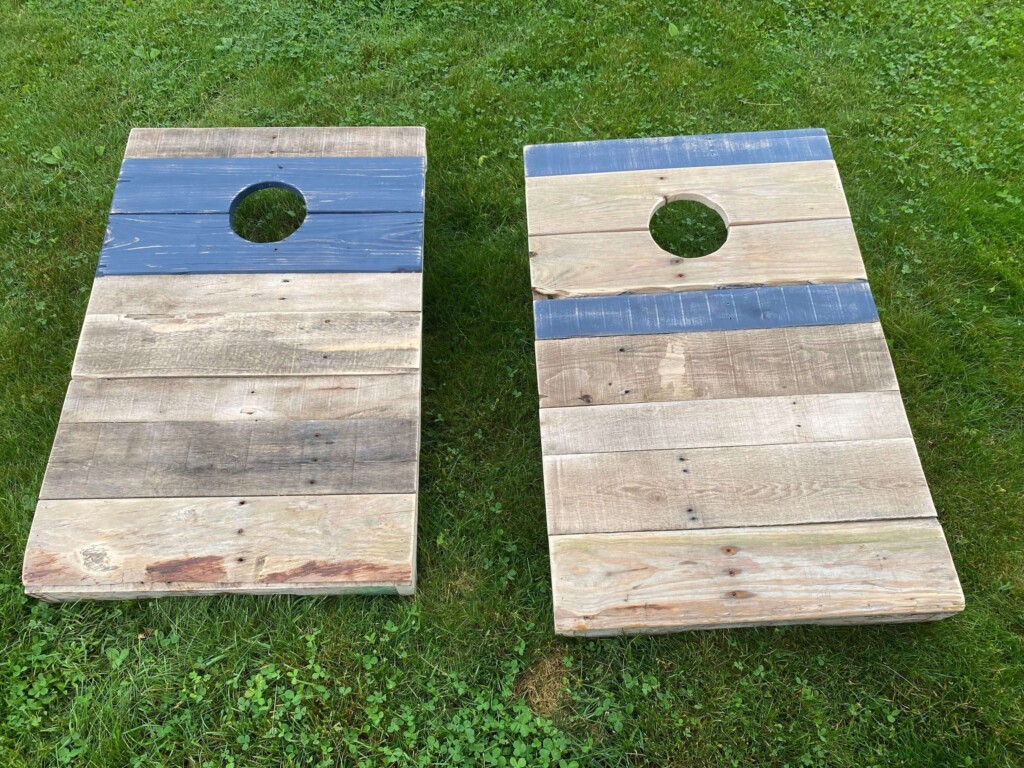
Step 5: Play and Create Lasting Memories
With your DIY cornhole boards complete, it’s time to enjoy quality time with your family while having some friendly competition. Set up the boards in your backyard, organize tournaments, and make lasting memories together.
Remember to store your cornhole boards in a safe and dry place when not in use to maintain their quality and longevity.
Building your own cornhole boards is not only a fun project but also an opportunity to strengthen family bonds and unleash your creativity. So gather your loved ones, embrace the DIY spirit, and start building memories with your custom cornhole boards!
As an Amazon Associate we earn from qualifying purchases through some links in our articles.